How to Clean and Restore Old Tools Before Selling
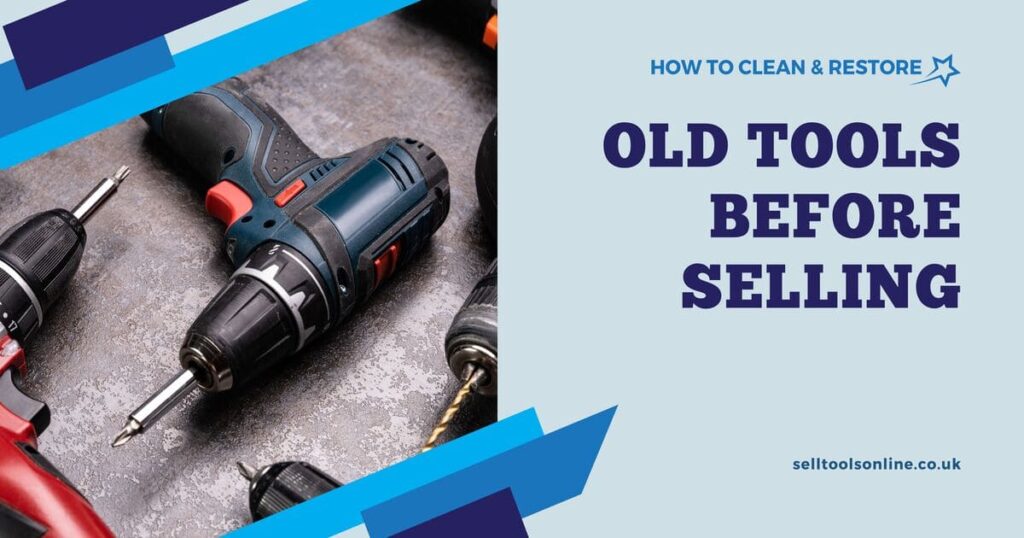
Cleaning and restoring old tools before selling them is crucial for maximising their value and appeal. Not only do well-maintained tools attract more buyers, but they also convey a sense of care and professionalism. In this guide, we’ll provide expert insights from Sell Tools Online to help you effectively clean and restore your old tools, ensuring you get the best price possible.
Why Cleaning and Restoring is Important
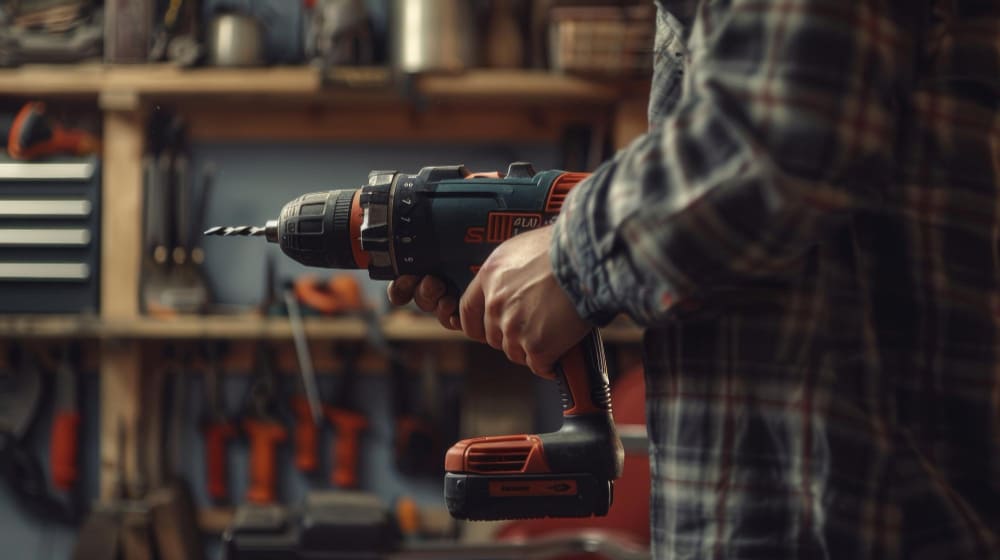
Taking the time to clean and restore your tools can significantly enhance their marketability. Clean old tools not only look more appealing to potential buyers, but they also signal that the seller has taken care of their equipment. This can lead to higher offers and quicker sales.
Additionally, restoring tools can improve their functionality, making them more attractive to buyers who are looking for reliable equipment. With a thriving secondhand market, investing time in cleaning and restoration is an environmentally friendly choice as well. By reusing and rejuvenating old tools instead of discarding them, you’re contributing to sustainability and reducing waste.
Also Check out: Sell Power Tools Online
Essential Cleaning Supplies
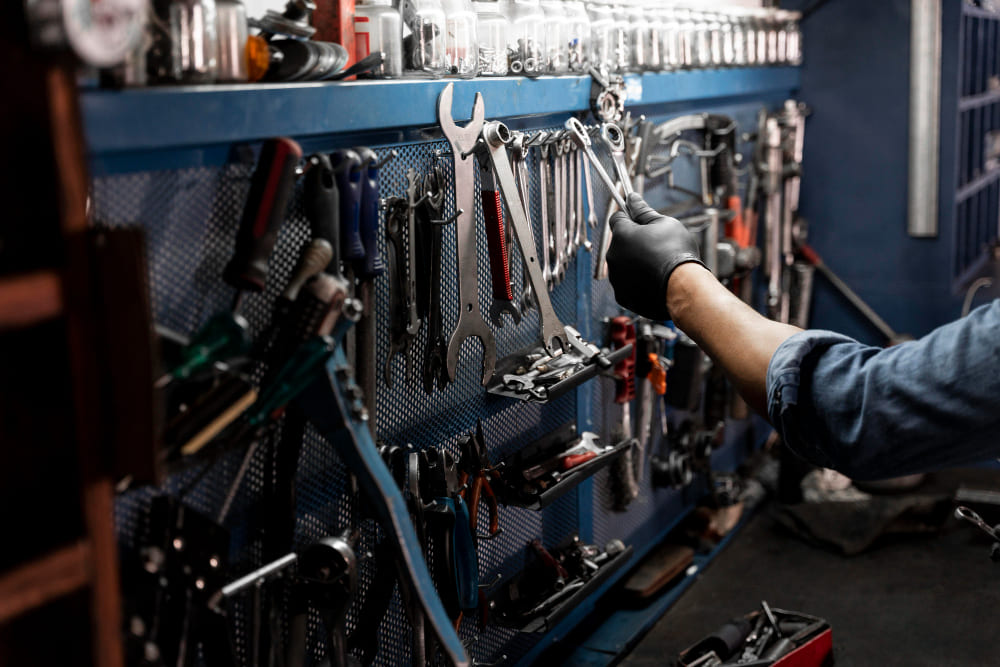
Before you start cleaning and restoring your tools, it’s important to gather the right supplies. Here’s a basic list to get you started:
- Wire brushes: Ideal for removing dirt and rust.
- Cleaning solution: A mix of mild detergent and water works for general cleaning; specialised solutions may be needed for tough grime.
- Sandpaper or steel wool: Useful for rust removal and surface smoothing.
- Soft cloths or rags: For wiping down old tools and applying cleaning products.
- Lubricants: Like WD-40 for loosening stiff parts and protecting against rust.
- Protective gloves: Essential for handling sharp tools or chemicals.
- Vinegar: A natural, effective solution for rust removal.
Always ensure proper ventilation when using cleaning products, and follow safety precautions to protect yourself from sharp edges or harmful chemicals.
Step-by-Step Cleaning Process
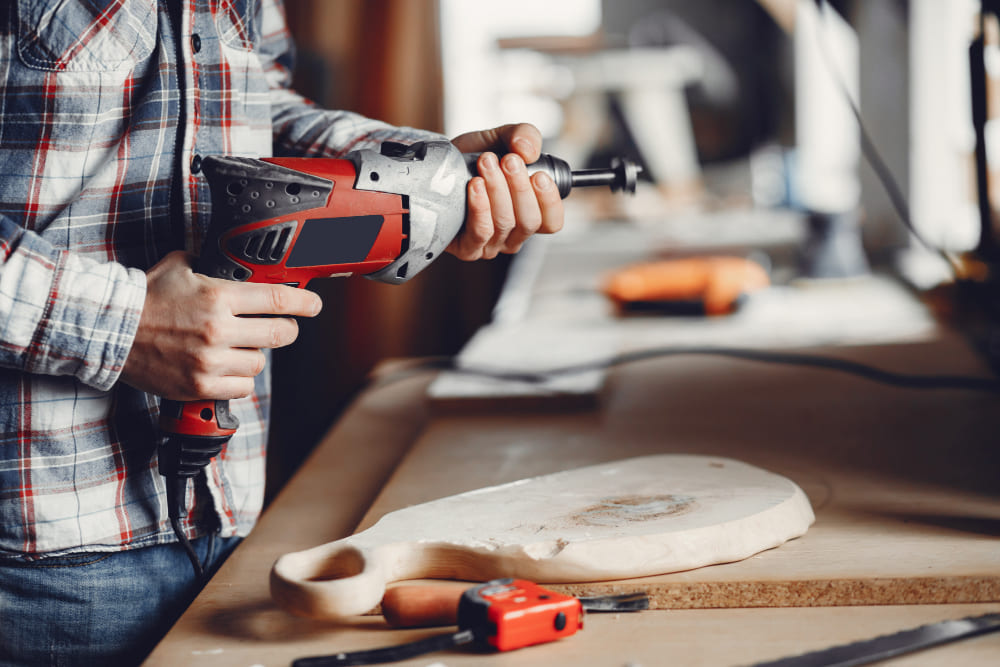
1. Initial Inspection
Before cleaning, inspect your tools for any damage, such as cracks, rust, or missing parts. Make note of areas that may need repair or special attention.
2. Dusting and Debris Removal
Use a wire brush or soft cloth to remove loose dust, dirt, and debris. For power tools, ensure all parts are unplugged or batteries removed before cleaning. A gentle vacuum can help clean out crevices.
3. Deep Cleaning
For metal surfaces, use a cloth with a mild detergent solution to wipe down the tool. If grime is stubborn, a tougher cleaning agent or degreaser may be necessary. For wooden handles, a damp cloth with mild soap will suffice, followed by drying to prevent moisture damage.
4. Rust Removal
Rust can be a common issue with older tools. Soak the rusty parts in vinegar for a few hours, then scrub with steel wool or sandpaper to remove the rust. For more severe rust, a commercial rust remover may be required.
5. Lubrication and Maintenance
After cleaning, apply a light coat of lubricant (like WD-40) to any moving parts. This will not only ensure smooth operation but also protect the tool from future rust and wear. Be sure to wipe off any excess lubricant to prevent buildup.
Also Check out: Sell Your Used Tools
Restoring Tools
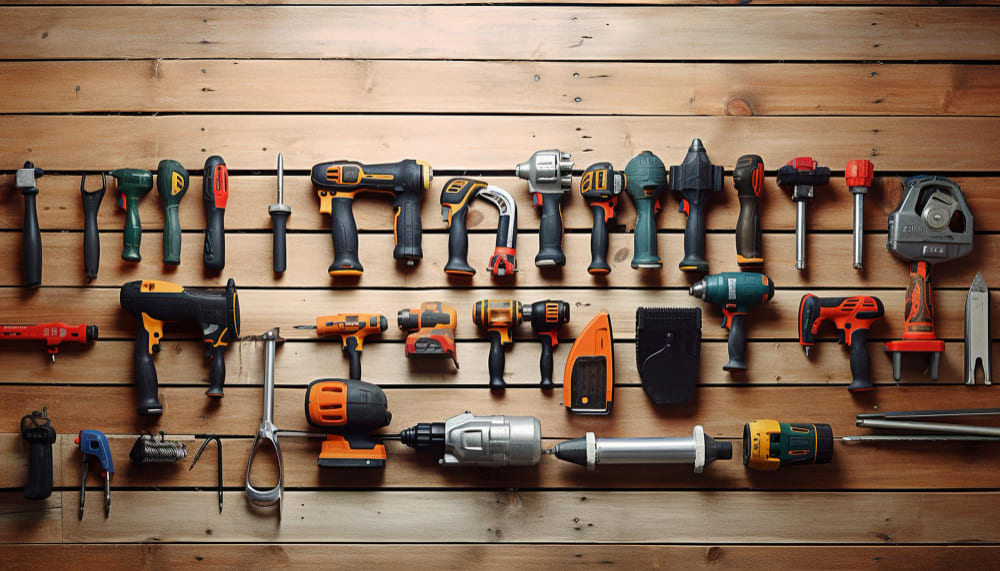
After cleaning, consider restoring any worn or damaged parts to increase your tool’s value. Here are some basic restoration tips:
1. Replace Grips or Handles
For hand tools with worn-out handles or grips, replacing them can make a huge difference. Wooden handles can often be refinished with sandpaper and a coat of linseed oil, while rubber or plastic grips can sometimes be swapped for new ones.
2. Sharpen Blades
Blades on tools like chisels, saws, and axes should be sharpened to restore their functionality. Using a sharpening stone or file can bring these tools back to optimal performance, making them more appealing to buyers.
3. Repaint Metal Surfaces
If the tool has chipped or faded paint, consider a light repainting to improve its appearance. Use a rust-resistant spray paint for metal surfaces, ensuring it is applied evenly after cleaning.
These simple restorations can greatly enhance the tool’s usability and aesthetics, allowing you to command a higher price when selling.
Final Presentation Tips
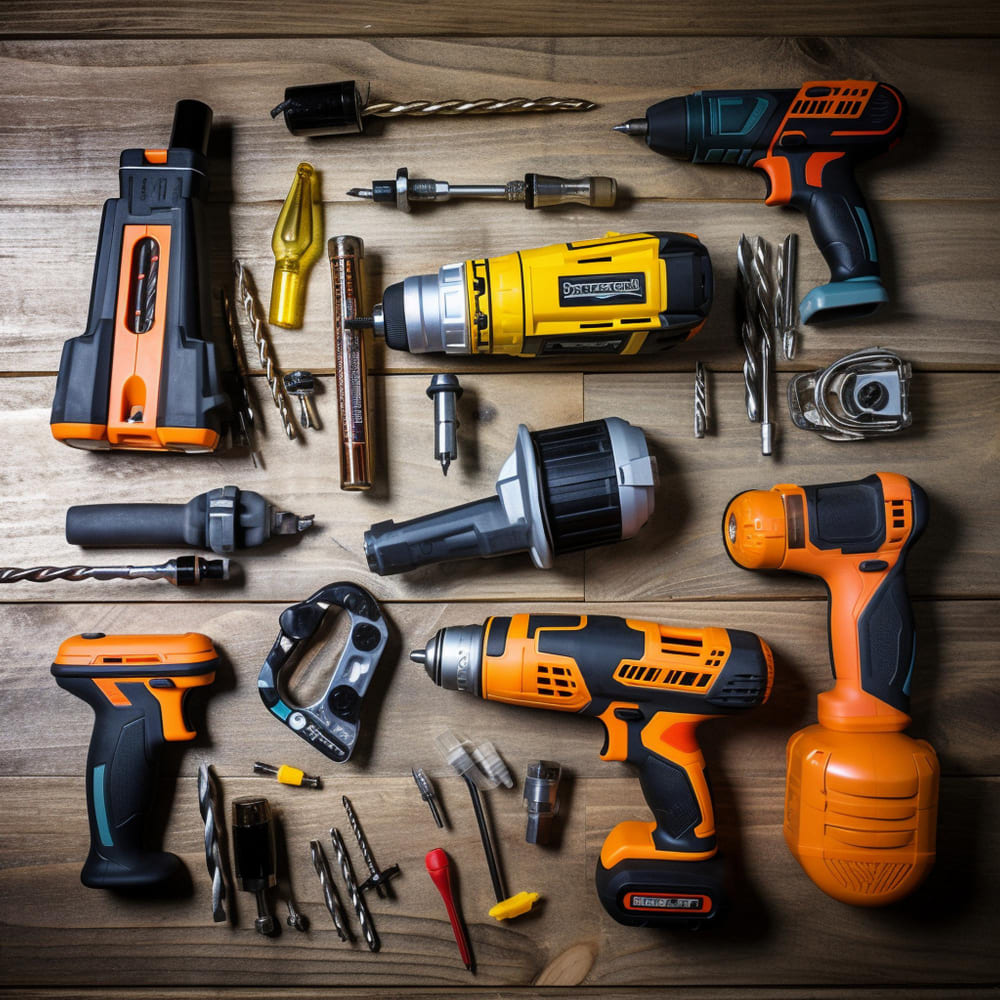
Once your tools are cleaned and restored, how you present them for sale is crucial to attracting buyers. Here are some tips for a professional presentation:
- High-Quality Photos: Take clear, well-lit photos from multiple angles to show the condition of the tools. Highlight brand logos and any key features that will appeal to buyers.
- Honest Descriptions: Be transparent about the tool’s condition, including any wear or imperfections. Buyers appreciate honesty, and it helps build trust.
- Group Similar Tools: If you have multiple tools from the same category or brand, consider selling them as a bundle to increase buyer interest.
Taking these steps will make your tools stand out and create confidence in potential buyers, leading to a quicker sale.
Read More: The Ultimate Guide to Selling Power Tools Quickly
Conclusion
Cleaning and restoring your old tools before selling is a simple yet effective way to maximise their value. Whether it’s removing rust, replacing handles, or sharpening blades, investing time in restoring your tools ensures they’re in top condition for buyers. Not only will this help you sell your old tools faster, but it will also help you command a better price.
Once your tools are ready, Sell Tools Online can help you sell them quickly and easily. With our instant valuations, free postage, and next-day payments, you can turn your cleaned and restored tools into cash in no time. Contact us today for more information!
